
Komodo Photography Guide: Light, Gear and the Shots That Matter
Photographing Komodo: Padar at golden hour, Pink Beach, dragons, underwater and drone rules, with gear and settings. A practical 2026 guide for travellers.
May 5, 2026 · 6 min read
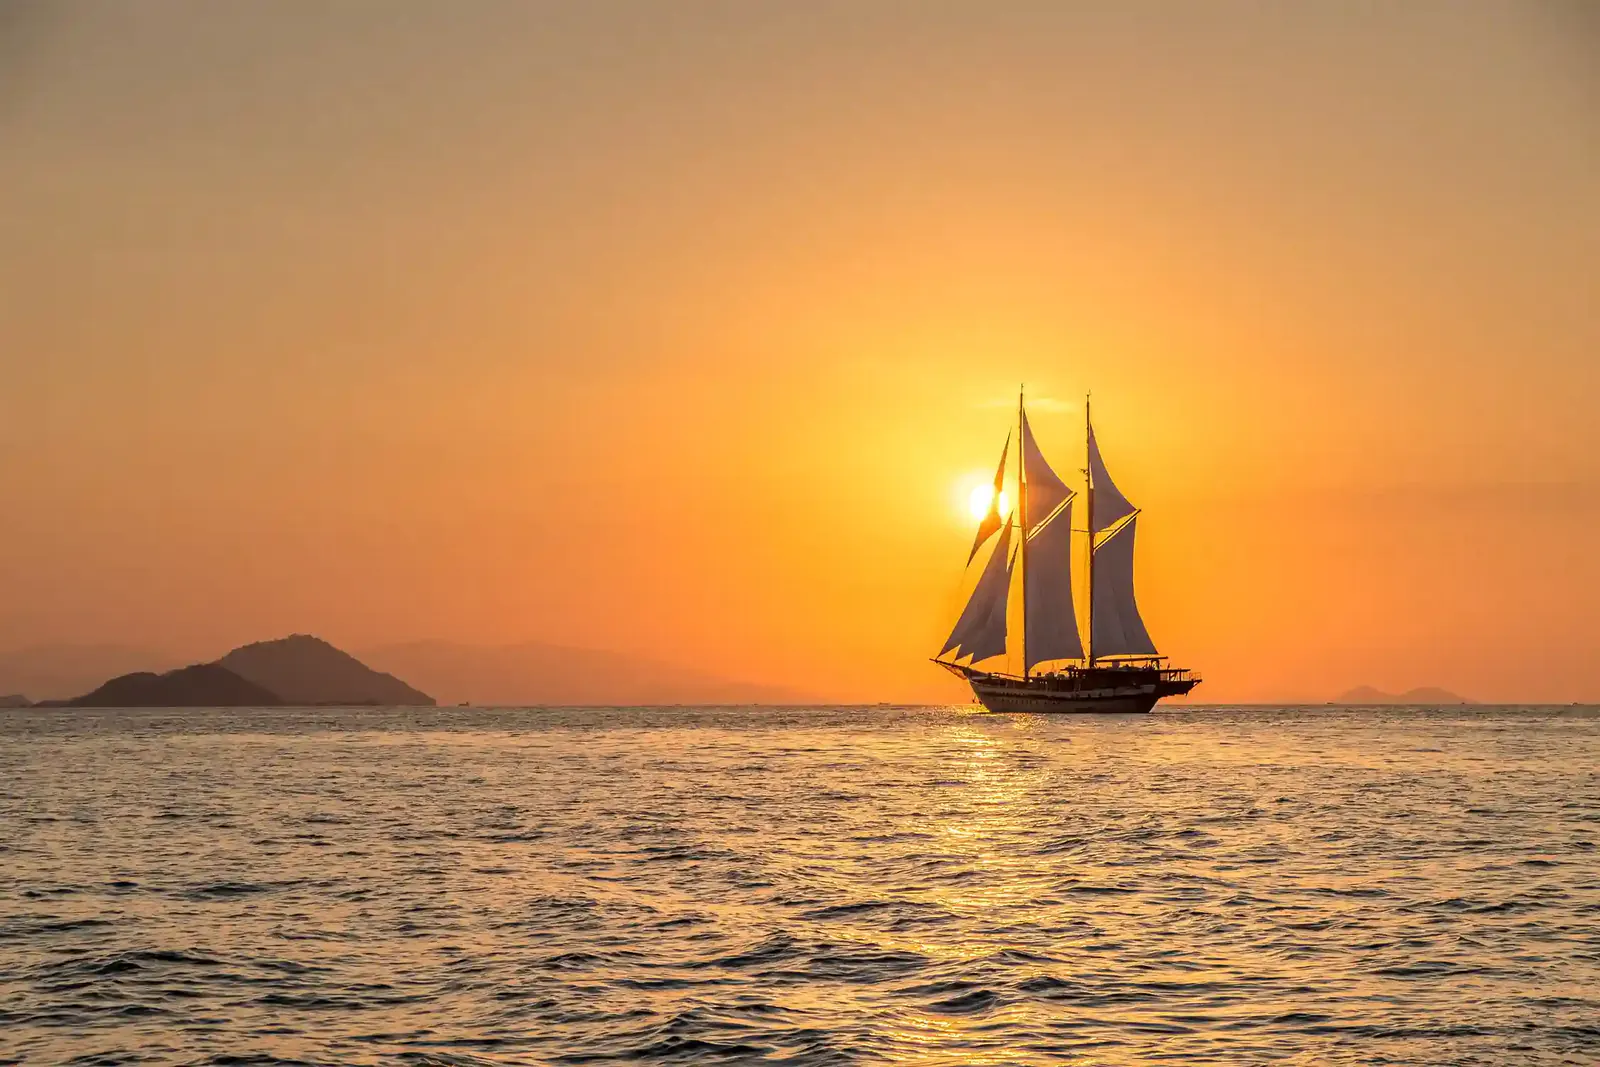
Komodo rewards photographers who plan around light and logistics. Shoot Padar’s three-bay panorama at first light, Pink Beach in soft morning sun, and the dragons with a telephoto from a ranger-set distance. Carry a wide-angle, a short telephoto and weather sealing, and check drone permissions before you fly. Timing, more than equipment, makes the difference here.
Komodo National Park, named the second most beautiful place in the world by Time Out in 2026, is among the most photogenic destinations in Indonesia, and also among the most demanding. The light is harsh by mid-morning, the terrain is dusty and steep, the water is busy with current, and the most iconic vantage points reward those who arrive early. This guide walks through each signature subject in turn, then the gear and settings that hold up in the field.
Padar Island at golden hour
The view from Padar’s ridge, three crescent bays fanning out beneath jagged volcanic ridges, is the defining image of the park, and timing is everything. The classic shot wants the low, raking light of sunrise or the final hour before sunset, when shadow gives the ridgelines depth and the bays separate into distinct tones. Midday flattens the scene into haze.
For sunrise, the trek up begins in darkness, so a head torch and sure footing matter as much as the camera. A wide-angle lens, somewhere in the 16 to 35mm range on full frame, captures the full sweep, while a standard zoom lets you isolate the layered ridges. Bring a small travel tripod for the low-light minutes before the sun crests, and consider a graduated neutral-density filter to hold detail in both the bright sky and the shadowed bays. Shoot in RAW; the dynamic range here is wide, and you will want the latitude to recover highlights and lift shadows later. Our destinations hub covers Padar alongside the park’s other landmarks so you can sequence your shoot across a multi-day visit.
Pink Beach in soft morning light
Pink Beach earns its name from fragments of red coral that blend with white sand, and the colour reads best under gentle, even light rather than the bleaching glare of midday. Early morning, before the sun climbs high, renders the blush most faithfully and keeps the turquoise shallows from washing out.
A polarising filter is the single most useful accessory here. It cuts surface glare, deepens the blue of the water, and makes the pink tones sing. Frame a foreground of wet sand at the waterline to emphasise the colour against the sea, and step back with a wider lens for the curve of the bay. If you photograph people, place them small within the landscape to convey scale. The pink is subtle in reality, so resist the urge to oversaturate in editing; a faithful, restrained rendering is more convincing and more elegant than a cartoonish one.
Photographing the dragons
The dragons are a wildlife subject, and the rules of wildlife photography apply, sharpened by the rules of the park. You will never be permitted close, nor should you wish to be, so a telephoto lens does the work that proximity cannot. A range around 70 to 200mm suits most encounters, letting you fill the frame while keeping the ranger-mandated distance of three to five metres. A longer reach, up to 300mm or more, lets you capture a head study or a flicking tongue without crowding the animal.
Shoot from a low angle where the ranger allows it to give the dragon presence and a sense of scale. The light on the islands is strong, so a fast shutter speed freezes any sudden movement, and a moderately wide aperture separates the animal from the dusty background. Keep both hands on the camera and your attention split between the viewfinder and your guide; never break the group’s formation or distance for a shot. Patience yields the best frames, a dragon mid-stride, or basking with the morning sun catching its scaled hide. The same discipline applies on Rinca, where the wilder terrain often makes for more atmospheric backgrounds.
Underwater: mantas, reefs and colour
Komodo’s underwater world is a photographic destination in itself, from the reef mantas of Manta Point to coral walls thick with fish. Underwater photography is its own craft, but a few principles carry beginners a long way. Get close to your subject; water robs images of contrast and colour with every metre of distance, so the nearer you are, the sharper and more saturated the result.
Crucially, no flash near the mantas, both for the animals’ sake and because backscatter from suspended plankton ruins the shot. Rely instead on natural light near the surface, where the cleaning stations often sit shallow enough to shoot without artificial lighting. A wide-angle or fisheye lens captures the full wingspan of a manta at close range, and shooting slightly upward toward the brighter surface gives the rays a clean, luminous backdrop. A simple waterproof housing or a capable action camera is enough to begin; the discipline of getting close and staying calm matters more than expensive optics.
Drone rules and aerial shots
The aerial perspective over Padar’s bays and the park’s scattered islands is extraordinary, but flying a drone here is regulated and not guaranteed. Komodo National Park is a protected UNESCO area, and drone use is restricted in places and may require permits or specific permission; rules can change and are enforced. Never assume you may fly simply because you have packed a drone.
Confirm the current position before you travel and again on arrival, ideally through your operator, who will know which sites permit aerial work and under what conditions. Where flying is allowed, the early light that flatters everything else flatters aerials too, and a low, slow pass over the bays at sunrise produces the most cinematic results. Respect wildlife at all times; never fly low over dragons or feeding mantas. When in doubt, do not fly. A confiscated drone and a fine make for a poor souvenir, and the ground-level views here are spectacular in their own right.
The kit that earns its place
You do not need a heavy bag, but you do need the right few items:
- A weather-sealed body and lenses. Dust and salt spray are constant; sealing protects your investment.
- A wide-angle and a short telephoto. The 16 to 35mm and 70 to 200mm pairing covers landscapes and dragons alike.
- A polarising filter and a graduated ND. Essential for water, sky and the high-contrast light.
- A compact travel tripod. For Padar’s pre-dawn minutes and any long exposures.
- Spare batteries and ample cards. The heat drains power, and you will shoot more than you expect.
- A waterproof housing or action camera. For the mantas and reefs you will not want to miss.
- A dry bag and lens cloths. Boat transfers are wet, and a clean front element saves every frame.
For the complete kit list, including clothing, footwear and the practicalities of packing for the islands, see our what to pack guide.
Compose your Komodo journey
The finest Komodo photographs come from being in the right place in the right light, which is a matter of itinerary as much as instinct. We build photography-minded voyages that put you on Padar’s ridge at first light and at Manta Point on the calmest tide, with the logistics arranged so you can concentrate on the frame.
Begin at our homepage, or speak with a Komodo specialist who can sequence the light around your priorities. Our concierge is available at any hour on WhatsApp or by email at [email protected], ready to tailor the timing and the route to the images you most want to bring home.
Continue planning